


Tech Support for VeCOAX ULTRA PLUS HDMI SDI QAM ATSC DVBT ISDBT DVBC digital television broadcast hdtv rf encoders modulators
VeCOAX ULTRA+
Tech Support Page
Is this the product you have?

VeCOAX ULTRA PLUS
FIRMWARE Upgrade Download
Version 4.0
VeCOAX ULTRA+ Instructions
Quick Installation
IF you are merging the VeCOAX ULTRA+
with other coaxial TV channels,
FIRST find out the FREE CHANNELS
not used on your TV channel list
so channels will not jam each other.
Look on your TV channel list
for UNUSED channel numbers.
You will need to set the Ultra Channels on these free channel numbers.
If you are not merging any other channel, disregard this.
1) The unit can be installed in ONE CLICK by recalling a PRESET
2) If you are installing multiple VeCOAX ULTRA+ over the same cable simply recall a DIFFERENT PRESET per each unit so these will not conflict over the same coaxial cable
3) At first, connect the ULTRA+ DIRECTLY to a test reference TV with a short piece of coaxial cable
4) No need to connect the HDMI inputs
5) On the VeCOAX ULTRA+ display navigate to PRESET MENU then select the TV STANDARD you need and the PRESET # for this unit

5A) PRESET > Select 1 for the first VeCOAX ULTRA+ unit
IF YOU ARE COMBINING MULTIPLE UNITS OVER THE SAME COAXIAL CABLE
PLEASE MAKE SURE TO SELECT A DIFFERENT PRESET NUMBER PER EACH UNIT
1 / 2 / 3 / 4 ....
5B) SELECT THE STANDARD:
-
ATSC > for USA ANTENNA AIR ATSC TV mode.
(This also allows you to MIX the VeCOAX ULTRA+ channels with antenna channels if needed)
YOU WILL NEED TO SCAN YOUR TV CHANNEL LIST USING AIR DIGITAL ANTENNA MODE on your TVs menus -
J.83B > for USA CABLE TV mode.
(This also allows you to MIX the VeCOAX ULTRA+ channels with cable tv channels if needed)
YOU WILL NEED TO SCAN YOUR TV CHANNEL LIST USING DIGITAL CABLE MODE on your TVs menus -
DVB-C > for EU CABLE TV mode.
(This also allows you to MIX the VeCOAX ULTRA+ channels with cable tv channels if needed)
YOU WILL NEED TO SCAN YOUR TV CHANNEL LIST USING DIGITAL EUROPEAN DVB-C CABLE MODE on your TVs menus -
DVB-T > for EU/AU/NZ/CO TERRESTRIAL TV mode.
(This also allows you to MIX the VeCOAX ULTRA+ channels with DVB-T digital terrestrial tv channels from an antenna if needed)
IMPORTANT: you will need to set the BANDWIDTH MODE from the modulation option menu as follows:
- 8 MHz if used in Europe
- 7 MHz if used in Australia / New Zealand
- 6 MHz if used in Colombia / Panama
YOU WILL NEED TO SCAN YOUR TV CHANNEL LIST USING DIGITAL TERRESTRIAL DVB-T TNT DTV MODE on your TVs menus -
ISDB-T > for South America / Brazilian TERRESTRIAL TV mode.
(This also allows you to MIX the VeCOAX ULTRA+ channels with ISDB-T digital terrestrial tv channels from an antenna if needed)
YOU WILL NEED TO SCAN YOUR TV CHANNEL LIST USING DIGITAL TERRESTRIAL ISDB-T MODE on your TVs menus
6) Rescan Your DIGITAL TV Channel List on your TV Menu to find the VeCOAX ULTRA+ Channels on your Reference Test TV.
Per Each channel You will see a Test Pattern as this here below
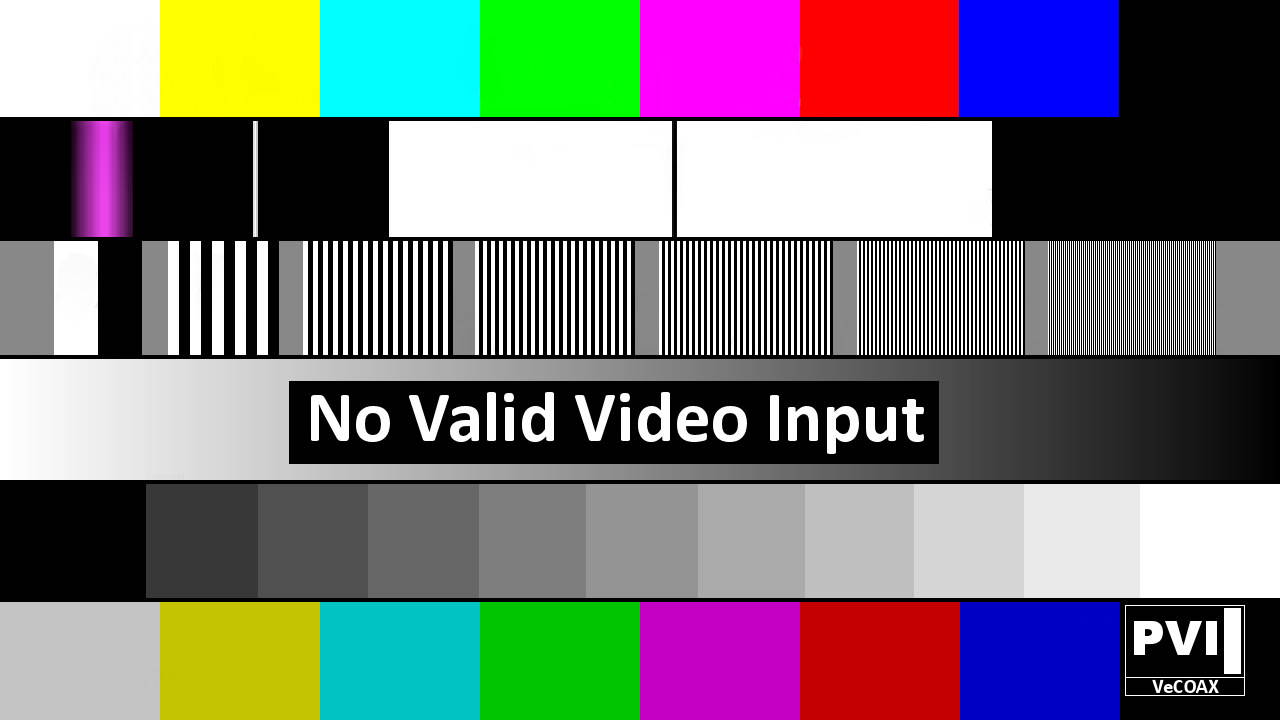
IF your test TV cannot find your VeCOAX ULTRA+ channels check the following:
a) Your TV is scanning the DIGITAL CHANNELS and not only analog TV channels
b) Your TV is scanning ATSC AIR channels IF you set ATSC MODE on the VeCOAX
c) Your TV is scanning CABLE channels IF you set the J.83 MODE on the VeCOAX
d) Move the VeCOAX ULTRA+ directly to the TV and use a short coaxial cable to connect direct, then start over from STEP #1 here above
EVENTUALLY TEST with another TV MODEL from another brand as comparison test.
7) Disconnect the VeCOAX ULTRA+ from your Test Reference TV
8) Connect the TV back to the regular coaxial cable
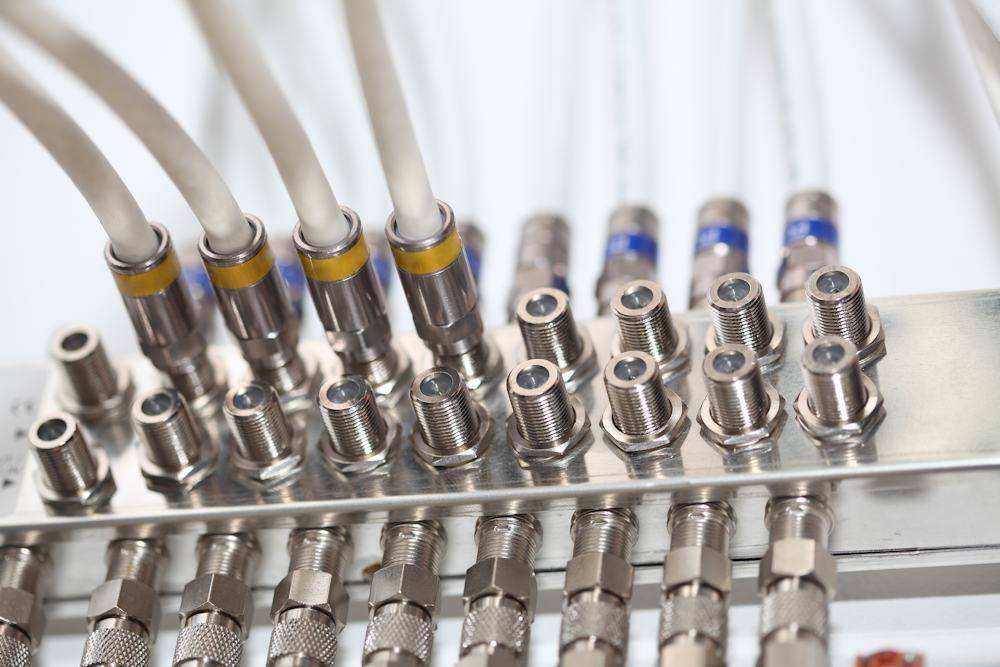
9) Move the VeCOAX ULTRA+ to the first Coaxial junction box splitter near the TV
Connect the VeCOAX to the splitter so the VeCOAX ULTRA+ channel signal will go to all your TVs via the splitter
Something like this picture...
10) Turn On the VeCOAX ULTRA+ connected to the coaxial splitter
11) Check on the same TV if you can still see the VeCOAX ULTRA+ color bars signal / Channels.
- IF YES, then Re-Scan all your other TVs to find the VeCOAX ULTRA+ channel, same as on the first TV
- IF NO, click here to troubleshoot the coaxial splitter
12) Disconnect the VeCOAX ULTRA+ from this splitter and connect to the next ones, one by one, repeating the same test from STEP #11
14) Connect The VeCOAX ULTRA+ to the Main TV Coaxial Splitter, from where you serve all TVs and check again STEP #11
15) Connect your HDMI sources to the VeCOAX ULTRA+ HDMI inputs and watch your HDMI source as channel on all your TVs
If a connected source is recognized as "VALID TV FORMAT HDMI SOURCE" (480/576/720/1080 i/p 50/60fps) the LED CHANNEL near the VeCOAX ULTRA+ display will turn GREEN and a little antenna icon on the channel list will show on the channel which is actually broadcasting
If you experience problems with an HDMI source, click here to troubleshoot HDMI video sources
IMPORTANT: ABOUT CLOSED CAPTIONING
The closed captioning is BUILT IN the HDMI signals. To see the closed captioning on all TVs simply turn it on on your HDMI sources.
If your source also offers a YELLOW RCA CVBS Composite video signal out, you might connect it to the VeCOAX ULTRA+ Yellow RCA input, so we can "encode" the closed caption data so it can be "turned on/off" via the TV remote control CC button on selected TVs.
Additional Documentation
VeCOAX ULTRA PLUS Instruction Manual Download
Contact us for any additional information
We respond within 24Hrs on regular business working days