


tech support page vecoax micromod 3 plus
VeCOAX Micromod 3+
Tech Support Page
Is this the product you have?
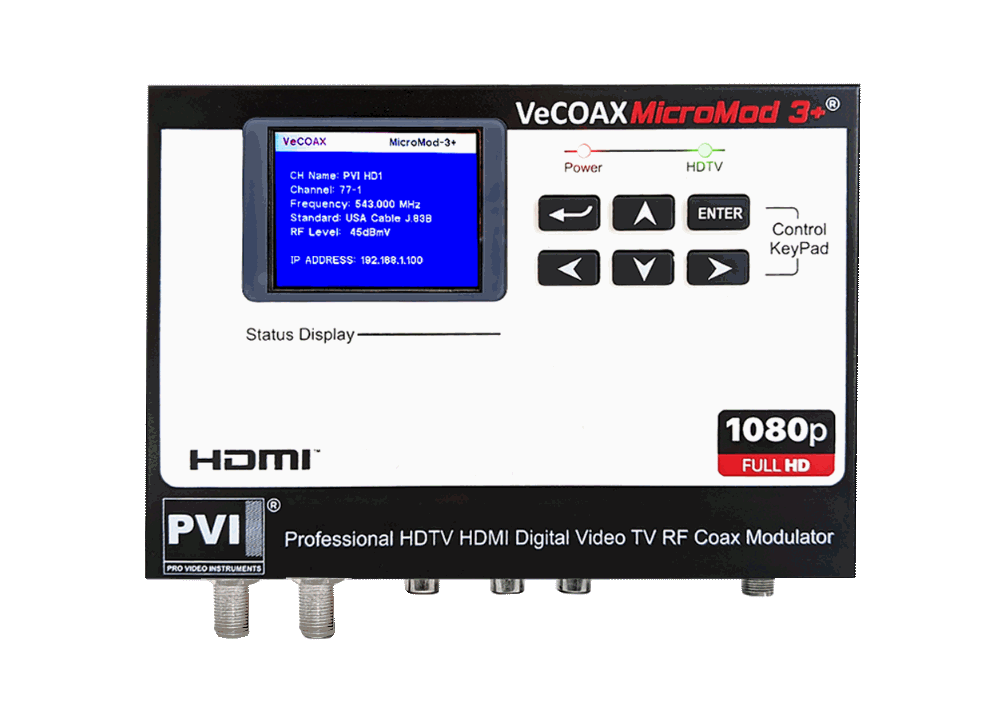
Single Unit Quick Installation
IF you are merging the Micromod 3+
with other coaxial TV channels,
FIRST find out a FREE CHANNEL
not used on your TV channel list
so channels will not jam each other.
Look on your TV channel list
for an UNUSED channel number.
1) THIS IS MOST IMPORTANT FOR A PERFECT SETUP
At first, connect the Micromod 3+ DIRECTLY on your TV with a short piece of coaxial cable
2) No need to connect the HDMI input
3) Check on the Micromod 3+ Display it shows the CORRECT Channel Name & Numbers you want.
Click here for how to set the Micromod 3+ channel
4) Rescan Your DIGITAL TV Channel List on your TV Menu to find the Micromod 3+ Channel on your TV.
You will see a Test Pattern as this here below
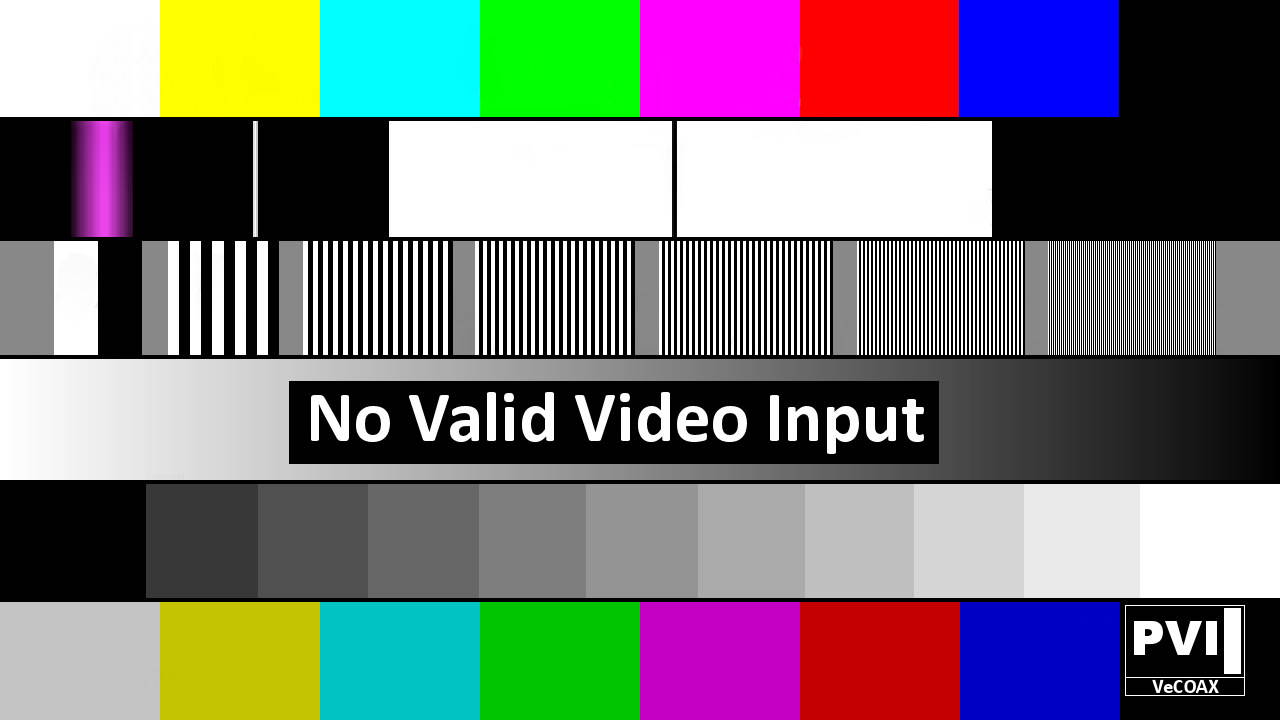
5) If you see the Color Bars Test pattern on your TV means the Micromod 3+ channel has been found and works correctly.
Click here to troubleshoot if the channel is not found
6) Disconnect the Micromod 3+ from the TV
7) Connect the TV back to the regular coaxial cable
8) Move the Micromod 3+ to the first Coaxial junction box splitter near the TV
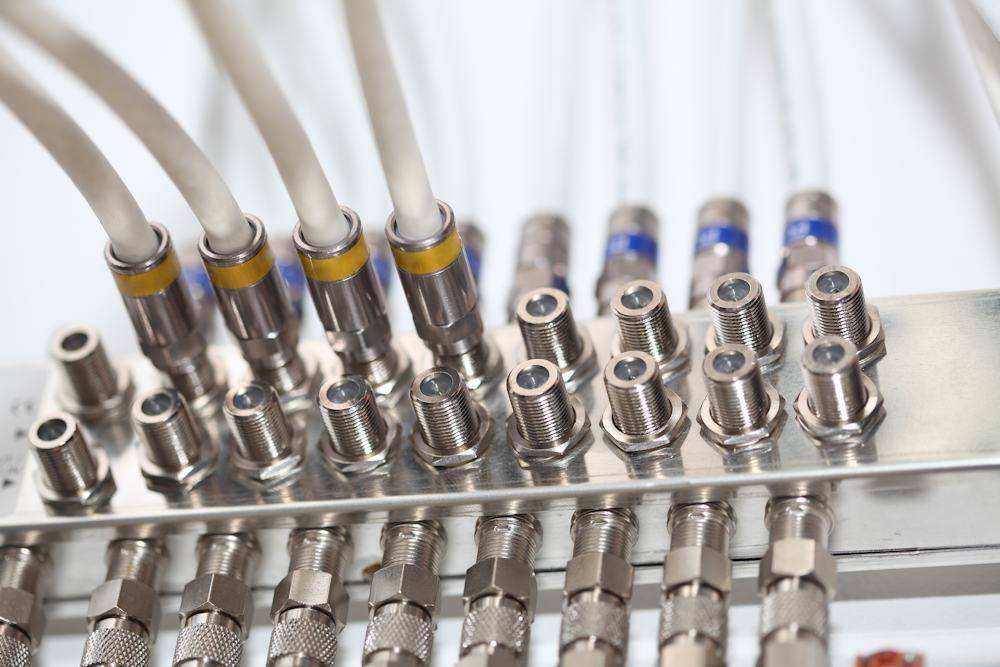
Connect the Micromod 3+ to the splitter so the Micromod 3+ channel signal will go to all your TVs via the splitter
Something like this picture...
9) Turn On the Micromod 3+ connected to the coaxial splitter
10) Check on the same TV if you can still see the Micromod 3+ color bars signal.
- IF YES, then Re-Scan all your other TVs to find the Micromod 3+ channel, same as on the first TV
- IF NO, click here to troubleshoot the coaxial splitter
11) Disconnect the Micromod 3+ from this splitter and connect to the next ones, one by one, repeating the same test from STEP #8
12) Connect The Micromod 3+ to the Main TV Coaxial Splitter, from where you serve all TVs and check again STEP #10
14) Connect your HDMI source to the Micromod 3+ HDMI input and watch your HDMI source as channel on all your TVs
Click here to troubleshoot HDMI video sources
Multiple Units Quick Installation
IF you are merging the Micromod 3+
with other coaxial TV channels,
FIRST find out FREE CHANNELs
not used on your TV channel list
so channels will not jam each other.
Look on your TV channel list
for UNUSED channel numbers.
(A) Prepare your Micromod 3+ ON Different Channels
To merge multiple Micromod 3+ over the same coaxial each must be set to a different channel so they do not jam each other
Click here for how to set the Micromod 3+ channels
(B) Install Your Micromod 3+ one by one
1) THIS IS MOST IMPORTANT FOR A PERFECT SETUP
At first, connect each Micromod 3+ DIRECTLY on one TV with a short piece of coaxial cable
2) No need to connect the HDMI input
3) Check on the Micromod 3 Display it shows the CORRECT Channel Name & Numbers you want.
Click here for how to set the Micromod 3+ channel
4) Rescan Your DIGITAL TV Channel List on your TV Menu to find the Micromod 3+ Channel on your TV.
You will see a Test Pattern as this here below
5) If you see the Color Bars Test pattern on your TV means the Micromod 3+ channel has been found and works correctly.
Click here to troubleshoot if the channel is not found
6) Disconnect the Micromod 3+ from the TV
7) Connect the TV back to the regular coaxial cable
8) Move the Micromod 3+ to the first Coaxial junction box splitter near the TV
Connect the Micromod 3+ to the splitter so the Micromod 3+ channel signal will go to all your TVs via the splitter
Something like this picture...
9) Turn On the Micromod 3+ connected to the coaxial splitter
10) Check on the same TV if you can still see the Micromod 3+ color bars signal.
- IF YES, then Re-Scan all your other TVs to find the Micromod 3+ channel, same as on the first TV
- IF NO, click here to troubleshoot the coaxial splitter
11) Disconnect the Micromod 3+ from this splitter and connect to the next ones, one by one, repeating the same test from STEP #8
12) Connect The Micromod 3+ to the Main TV Coaxial Splitter, from where you serve all TVs and check again STEP #10
14) Connect your HDMI source to the Micromod 3+ HDMI input and watch your HDMI source as channel on all your TVs
Click here to troubleshoot HDMI video sources
15) Leave this Micromod 3+ connected to your coaxial cables and proceed to the next Micromod 3+
Repeat from step 1 for each Micromod 3+, one by one, so if there is an issue you'll be able to troubleshoot that easily
16) When all the Micromod 3+ are connected, all your TVs will be able to select and display any of the Micromod 3+ HDMI channels
Additional Documentation
VeCOAX Micromod 3+ Instruction Manual Download

VeCOAX Micromod 3+ Firmware Upgrade
How To Upgrade Instructions

FIRMWARE BY REQUEST ONLY
Click the icon above to request the
correct firmware for your VeCOAX MICROMOD 3+
Contact us for any additional information
We respond within 24Hrs on regular business working days